Dhaka ·
  Thimphu ·
  Vancouver · Since 2012
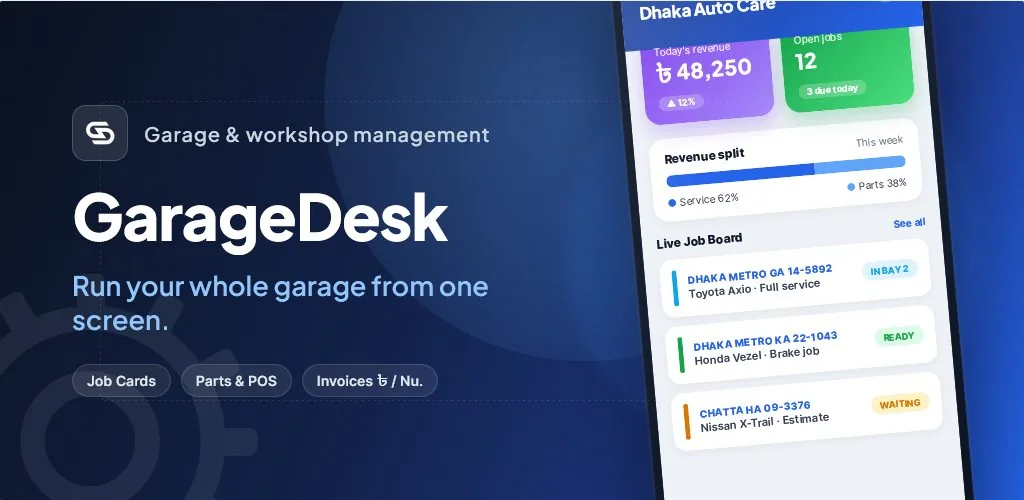
Auto repair job card software is only as good as the process around it. Many workshops across Bangladesh and Bhutan buy or try a system, but keep writing paper slips at the counter and entering them later, which means the software never quite matches what happened on the floor. The job card needs to be the centre of the workshop, created when the vehicle arrives and closed only when the bill is paid.
This how-to sets out a practical job card process in eight steps, with a checklist you can adapt to your own workshop. Where it helps, we show how GarageDesk, the garage management system developed by FLEX InfoTech, supports each step.
Why auto repair job card software should sit at the centre
In a workshop, the job card is the one document that touches every department. The service advisor opens it, the technician works from it, the storekeeper issues parts against it, and the cashier bills from it. If each of these people keeps their own record instead, labour gets missed, parts leave the shelf without being billed and customers receive bills that do not match what they were told.
When the job card is digital and connected, labour and parts are recorded once, stock moves automatically and the invoice is generated from the job card itself. That is the principle behind every step below.
Steps 1 to 3: intake, inspection and quotation
Good job cards start at the counter. Capture the customer and vehicle details accurately, note the complaint in the customer's own words, and agree the work before it begins.
For anything beyond routine servicing, prepare an estimate. In GarageDesk, quotations can be shared with the customer through a secure approval link that they open and approve on their phone. Quotes expire automatically after their validity period, so an old price is not accepted months later.
- Step 1: Register the customer and vehicle, including registration number and odometer reading
- Step 2: Record the complaint and initial inspection notes on the job card
- Step 3: Prepare a quotation for larger jobs and get customer approval before starting
Steps 4 and 5: scheduling and work in progress
Once work is approved, assign it to a bay and a technician. Appointment and bay scheduling with conflict detection prevents two vehicles being promised the same lift at the same time.
As the job moves through its statuses, everyone should see the change. A live job board, updated in real time, lets the front desk answer the customer's call about whether the car is ready without walking to the bay.
- Step 4: Assign the job to a bay and technician, with a planned time
- Step 5: Update the job card status as work starts, pauses for parts or is completed
Step 6: add labour and parts as the work happens
This is where most money is lost. Every labour item and every part should be added to the job card when it is used, not reconstructed at the end of the day. When parts are added to the job card in GarageDesk, stock is issued in the same transaction, so the stock list and the bill always agree.
On Android, storekeepers can scan part barcodes with the phone camera, which reduces picking errors and speeds up the issue. If a part is out of stock, the low-stock list and purchase orders help the storekeeper reorder quickly.
Steps 7 and 8: invoice, payment and day close
When the vehicle is ready, convert the job card into the invoice. Review it with the customer, explain the labour and parts, and produce a PDF invoice that can be printed or shared. Record the payment by the method used, such as cash, card, bank transfer or a mobile wallet. If the customer pays only part of the bill, record a partial payment and issue a money receipt; the balance stays visible in receivables.
At the end of the day, run the day-close summary and compare it with the cash and wallet balances. An audit log of changes helps explain any differences.
- Step 7: Convert the completed job card into the invoice and review it with the customer
- Step 8: Record full or partial payment, issue a receipt and complete the day close
A job card checklist for your workshop
Print or pin this checklist at the counter for the first few weeks after switching to digital job cards. Review it in a short weekly meeting with the service advisor, storekeeper and cashier.
- No vehicle enters a bay without an open job card
- No major work starts without an approved quotation
- Every part leaves the store against a job card or a counter sale
- Job card status is updated whenever the vehicle changes stage
- Every invoice is generated from the job card, never written separately
- Every partial payment has a receipt and a visible balance
- Day close is completed before the counter shuts
- Technician and receivables reports are reviewed weekly by the owner
Frequently asked questions
What should a vehicle job card include?
At minimum: customer and vehicle details, registration number, odometer reading, the reported complaint, inspection notes, the assigned technician and bay, labour items, parts used with quantities, status, and the link to the final invoice and payments. A digital job card keeps all of this together so nothing has to be copied between documents.
Is GarageDesk available for workshops in Nepal or India?
GarageDesk was built for garages in Bangladesh and Bhutan, with BDT and BTN currencies and a Bangla and English interface. Workshops in Nepal and India are part of the wider audience FLEX InfoTech is reaching, and should discuss currency, tax and language needs with the team during a demo before deciding.
Can customers approve quotes without visiting the workshop?
Yes. The workshop can share a quotation through a secure link that the customer opens on their phone and approves. This saves a phone call or visit, gives the workshop a clear record of what was approved, and quotes expire automatically so old prices are not accepted later.